

News
Newsletter
A short sentence describing what someone will receive by subscribing
Blog posts
Unlock the Vibrant Colors of Your Tropical Fish with the Best Frozen Foods
As an avid tropical fish enthusiast, I know the importance of providing the right nutrition to bring out the vibrant colors of your finned friends. One of the most effective ways to achieve this is through the use of high-quality frozen fish foods. In this blog post, we'll explore the benefits of frozen foods for color enhancement and provide you with the knowledge to create a feeding regimen that will make your tropical fish shine.
The Power of Carotenoids
At the heart of color enhancement in tropical fish lies the role of carotenoids. These natural pigments are responsible for the stunning hues we admire in species like discus, angelfish, and many others. Carotenoids are not produced by the fish themselves, but rather, they must be obtained through their diet.
Frozen fish foods are an excellent source of these essential pigments. By incorporating a variety of carotenoid-rich ingredients, such as shrimp, krill, and spirulina, you can ensure your tropical fish receive a balanced and nutrient-dense diet that will bring out their true colors.
Species-Specific Blends
Different tropical fish species have unique dietary requirements and preferences when it comes to carotenoids. For example, discus fish thrive on a diet rich in astaxanthin, while angelfish may benefit more from a blend that includes canthaxanthin and lutein.
When selecting frozen fish foods, look for products that cater to the specific needs of your tropical fish species. These specialized blends will provide the optimal combination of carotenoids to enhance the natural beauty of your aquarium inhabitants.
Feeding Frequency
Consistent and appropriate feeding is crucial for maintaining the vibrant colors of your tropical fish. Aim to feed your fish a varied diet of high-quality frozen foods several times a day, rather than relying on a single large meal.
By providing smaller, more frequent portions, you can ensure your fish are receiving a steady supply of the essential nutrients they need to thrive. This approach also helps to prevent overfeeding, which can lead to water quality issues and other health problems.
Seeing Results
The timeline for observing the effects of a carotenoid-rich frozen food diet can vary depending on the species and the individual fish. However, you can generally expect to see noticeable improvements in color within 2-4 weeks of consistent feeding.
As your tropical fish begin to display their vibrant hues, take the time to admire their beauty and the results of your efforts. Remember, the key to maintaining these stunning colors is to continue providing a balanced and varied diet that includes the best frozen foods for tropical fish.
At Pets Warehouse, we understand the importance of color enhancement for tropical fish enthusiasts. That's why we offer a wide selection of high-quality frozen fish foods, carefully formulated to meet the specific needs of your finned friends. Browse our online store or visit our pet supplies store in Lindenhurst, New York, to find the perfect frozen food solution for your aquarium.
Unlock the true potential of your tropical fish and let their colors shine with the help of the best frozen foods from Pets Warehouse.
The Ultimate Freshwater Frozen Food Guide
Maintaining a healthy and thriving freshwater aquarium is a delicate balance, and one of the most crucial elements is providing the right diet for your fish. Among the various food options available, frozen fish food has emerged as a popular choice for aquarium enthusiasts. In this comprehensive guide, we'll explore the benefits of frozen food, the different types available, and how to incorporate them into your fish's diet for optimal health and growth.
The Benefits of Frozen Freshwater Fish Food
Premium frozen fish food offers a range of advantages over other types of aquarium feed. Firstly, the freezing process helps to preserve the nutritional value of the ingredients, ensuring that your fish are getting a nutrient-dense meal. This is particularly important for community tanks, where a diverse array of species may have varying dietary needs.
Moreover, frozen food is often more palatable for fish compared to dry or flake alternatives. The natural flavors and textures are retained, making it more appealing to your finned friends. This can be especially beneficial for picky eaters or fish that may be hesitant to try new foods.
Another significant advantage of frozen fish food is its convenience. Unlike live foods, which require constant care and attention, frozen options can be easily stored and thawed as needed, simplifying the feeding process and reducing the risk of introducing unwanted organisms into your aquarium.
Community Tanks: Catering to a Diverse Palette
When it comes to community tanks, where multiple species coexist, providing a balanced and varied diet is crucial. Frozen fish food offers a versatile solution, allowing you to cater to the unique dietary requirements of each inhabitant.
Species Breakdown
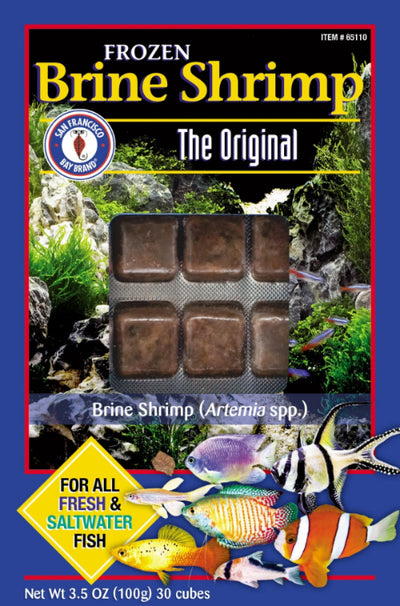
Guppies, for instance, are known to thrive on a diet rich in protein and plant-based matter. Frozen brine shrimp and bloodworms can be an excellent choice for these vibrant fish. Tetras, on the other hand, may prefer a more omnivorous approach, with a mix of frozen daphnia, and cyclops.
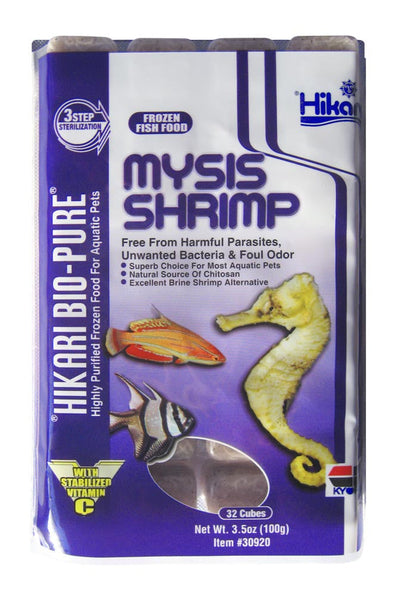
Larger predatory species, such as cichlids or barbs, will benefit from frozen meaty options like krill, or mysis shrimp. These protein-rich foods will help to support their active lifestyles and maintain their vibrant colors.
By carefully selecting a range of frozen food options, you can ensure that each member of your community tank is receiving the nutrients they need to thrive.
Feeding Frequency: Finding the Right Balance
Determining the appropriate feeding frequency for your fish is crucial to maintaining their overall health and well-being. When it comes to frozen fish food, a general guideline is to feed your fish 2-3 times per day, with each feeding consisting of an amount that your fish can consume before settling on the bottom.
It's important to avoid overfeeding, as this can lead to water quality issues and potential health problems for your fish. Conversely, underfed fish may become lethargic and susceptible to disease. By closely monitoring your fish's behavior and adjusting the feeding schedule as needed, you can strike the perfect balance.
Food Size Matching: Ensuring Proper Nutrition
Selecting the right size of frozen food is essential to ensuring that your fish can easily consume and digest their meals. As a general rule, the size of the food should be no larger than the space between your fish's eyes.
For smaller fish, such as tetras or guppies, opt for smaller frozen food options like brine shrimp or daphnia. For larger species, frozen krill, or mysis shrimp.
By carefully matching the food size to your fish's needs, you can maximize the nutritional benefits and minimize the risk of digestive issues or choking hazards.
Explore Our Wide Selection of Frozen Fish Food
At Pets Warehouse, we pride ourselves on offering a comprehensive range of high-quality frozen fish food options to cater to the diverse dietary needs of your aquarium inhabitants. From brine shrimp and bloodworms to krill and mysis shrimp, our selection is sure to provide the perfect complement to your fish's diet.
Buy frozen fish food online or stop by our Lindenhurst, New York location to explore our wide array of frozen fish food products and take the first step towards a thriving, healthy aquarium. Let us help you unlock the full potential of your freshwater fish with the ultimate frozen food guide.
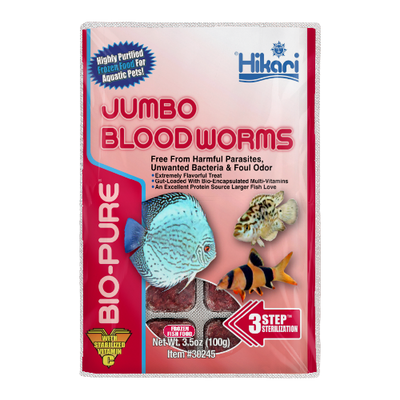
The Ultimate Guide to Feeding Frozen Bloodworm Cubes
As pet owners, we all want to provide the best possible care for our beloved aquatic companions. One of the most important aspects of this is ensuring they receive a balanced and nutritious diet. When it comes to feeding fish, frozen bloodworm cubes have become a popular choice among hobbyists. These nutrient-dense morsels offer a convenient and healthy way to supplement your fish's diet.
In this comprehensive guide, we'll explore the ins and outs of feeding frozen bloodworm cubes, from proper portion sizes to storage tips. Whether you're a seasoned aquarist or just starting out, this post will equip you with the knowledge to make the most of this versatile fish food.
Determining the Right Cube Size
One of the first considerations when feeding frozen bloodworm cubes is the appropriate portion size for your fish. The size of the cube you choose will depend on the size and species of your aquatic pets. As a general rule, aim for cubes that are no larger than the space between your fish's eyes.
For smaller fish, such as tetras or guppies, a single cube the size of a pea or a small marble is typically sufficient. Larger fish, like cichlids or goldfish, may require a cube the size of a grape or a small cherry tomato. It's important to monitor your fish's feeding behavior and adjust the portion size accordingly to prevent overfeeding.
Thawing Frozen Bloodworm Cubes
Before feeding your fish, it's essential to properly thaw the frozen bloodworm cubes. This process helps ensure the cubes are easy for your fish to consume and prevents any potential digestive issues.
To thaw the cubes, simply place them in a small container of tank water. Allow the cubes to sit for 5-10 minutes, or until they have fully softened and become pliable. Avoid using hot water, as this can damage the nutritional content of the bloodworms.
Once the cubes have thawed, you can gently break them apart with your fingers or a fork, making it easier for your fish to eat. It's important to avoid letting the thawed cubes sit for too long, as they can quickly become contaminated or lose their nutritional value.
Feeding Frequency and Portion Control
Establishing a consistent feeding routine is crucial for the health and well-being of your fish. When it comes to frozen bloodworm cubes, it's generally recommended to feed your fish 2-3 times per week, with each feeding consisting of a small portion.
For most fish, a single cube or a small pinch of thawed cubes is sufficient. It's important to monitor your fish's feeding behavior and adjust the portion size as needed. Overfeeding can lead to water quality issues and potential health problems, so it's best to err on the side of caution.
If you have a larger aquarium or a community of fish, you may need to adjust the feeding schedule and portion sizes accordingly. Consult with us to determine the optimal feeding regimen for your specific setup.
Proper Storage and Handling
Proper storage and handling of frozen bloodworm cubes are essential to maintain their freshness and nutritional value. When not in use, it's best to keep the cubes stored in the freezer.
To prevent freezer burn and cross-contamination, it's recommended to store the cubes in an airtight container or resealable bag. This will help lock in the freshness and prevent the cubes from absorbing any unwanted odors or flavors from the freezer.
When it's time to feed your fish, be sure to handle the cubes with clean hands or utensils. Avoid letting the cubes sit at room temperature for extended periods, as this can promote bacterial growth and compromise the quality of the food.
By following these storage and handling guidelines, you can ensure that your frozen bloodworm cubes remain fresh and nutritious, providing your fish with the essential nutrients they need to thrive.
At Pets Warehouse, we understand the importance of a balanced diet for your aquatic pets. That's why we offer a wide selection of high-quality frozen bloodworm cubes, along with other premium fish food options. Visit our online store today to explore our collection and find the perfect feeding solution for your aquarium.
Unleash Your Betta's Inner Predator: The Wonders of Frozen Bloodworms
As a proud Betta fish owner, you know that these vibrant, captivating creatures are true carnivores at heart. While they may grace our aquariums with their stunning fins and mesmerizing colors, their dietary needs are far from simple. One of the most sought-after treats for Bettas is the humble frozen bloodworm - a delicacy that can unlock their inner predator and provide a nutritional boost that will have your finned friend swimming with joy.
Carnivorous Biology: Feeding the Betta's Predatory Instincts
Bettas are not your average aquarium fish. These magnificent creatures are members of the Anabantidae family, which means they are true carnivores. In the wild, Bettas would typically feast on small insects, crustaceans, and even the occasional small fish. Their sharp teeth and voracious appetite make them skilled hunters, and it's this predatory nature that we must cater to when caring for them in our home aquariums.
Bloodworms vs. Brine Shrimp: Choosing the Right Treat
While brine shrimp are a popular choice for Betta owners, frozen bloodworms offer a more nutrient-dense and protein-rich option. Bloodworms are the larvae of the non-biting midge fly, and they are packed with essential amino acids, vitamins, and minerals that are crucial for your Betta's health and well-being. In contrast, brine shrimp, while a good source of protein, lack the same level of nutritional complexity that bloodworms provide.
Portion Sizing: Feeding Your Betta with Care
When it comes to feeding your Betta frozen bloodworms, it's important to remember that moderation is key. Bettas have small stomachs, and overfeeding can lead to digestive issues and even obesity. As a general rule, aim to feed your Betta 2-3 frozen bloodworms per feeding, no more than 2-3 times per week. This will ensure that your Betta is getting the nutrients it needs without risking any adverse effects.
Feeding Frequency: Keeping Your Betta's Appetite Satisfied
Bettas are natural predators, and their feeding habits reflect this. In the wild, they would typically hunt and consume small prey throughout the day, rather than relying on a single large meal. When caring for a Betta in an aquarium, it's best to mimic this natural feeding pattern by providing small, frequent meals.
Instead of offering a large portion of frozen bloodworms all at once, consider breaking up the feeding into smaller, more frequent servings. This not only satisfies your Betta's predatory instincts but also helps to prevent overfeeding and maintain a healthy digestive system.
At Pets Warehouse, we understand the importance of providing your Betta with the best possible care and nutrition. That's why we offer a wide selection of high-quality frozen bloodworms, carefully sourced and packaged to ensure maximum freshness and nutritional value. Visit our online store today and explore our collection of frozen fish food, including the perfect treats for your beloved Betta.
Remember, when it comes to caring for your Betta, a little bit of knowledge and attention can go a long way. By understanding their carnivorous nature and providing them with the right balance of frozen bloodworms and other nutritious foods, you'll be well on your way to keeping your Betta happy, healthy, and thriving in your home aquarium.